Sunday, October 23, 2011

Card #4 for the Christmas Stamp-a-Stack

I have decided on the fourth card design for the Christmas Stamp-a-Stack I am holding in November. Isn't this a beautiful card?

Card stock - Always Artichoke, Real Red, Whisper White
Stamp set - Greeting Card Kids, Teeny Tiny Wishes
Ink - Many Marvelous Markers
Embellishments - Real Red taffeta ribbon, Mica Flakes
Tools - Word Window punch, Modern Label punch, Blender pens

Won't you join us? Dates are Friday Nov 4th (6:30 p.m.), Sunday Nov 6th (2 p.m.), and Monday Nov 7th (6:30 p.m.)


$15.00 for all 8 cards - envelopes are included. Everything provided - just come join the fun :-)

Wednesday, October 12, 2011

New Workshop Added - Christmas is coming!

I am offering a Christmas card workshop on several dates in November - Friday, Nov 4 (6:30 p.m.), Sunday, Nov 6 (2 p.m.), and Monday Nov 7 (6:30 p.m.) Pick the date and time that fits your schedule and come have some holiday fun! You will be making 8 cards in 4 basic designs (2 of each). Cost for the workshop is $15 which includes envelopes.

Each card design has 2 options so you can make the two cards the same or make one of each option. Here are some photos of what I have planned so far (may have some minor changes when I get out my supplies).


The first card design will use the Stitched Stocking stamp set and coordinating punch. It also features the eyelet border punch and the mini brads (love those things!)


The second option uses the lace border punch - reminds me of the Victorian gingerbread in my childhood home. Brings back lots of Christmas memories. This one also uses the baker's twine for the stocking hangers.


The second card design uses the stripe embossing folder and the quilted satin ribbon. The Occasions alphabet stamps and Cherry Cobbler baker's twine are featured on this option.


For the second option, I chose the Four the Holidays stamp set (there are 4 holiday greetings to chose from).


The third design highlights my favorite The Sounding Joy stamp set. The option on the left is tied with the Poppy Parade cotton ribbon. The right sports the Cherry Cobbler ribbon and a miniature jingle bell.
Now I just have to decide on the fourth card - something with the Mica Flakes I think - I have seen so many cute ideas with those.

Looking forward to sharing these wonderful products with you - pick a date and come join the fun!

Sunday, October 9, 2011

Another OMG album

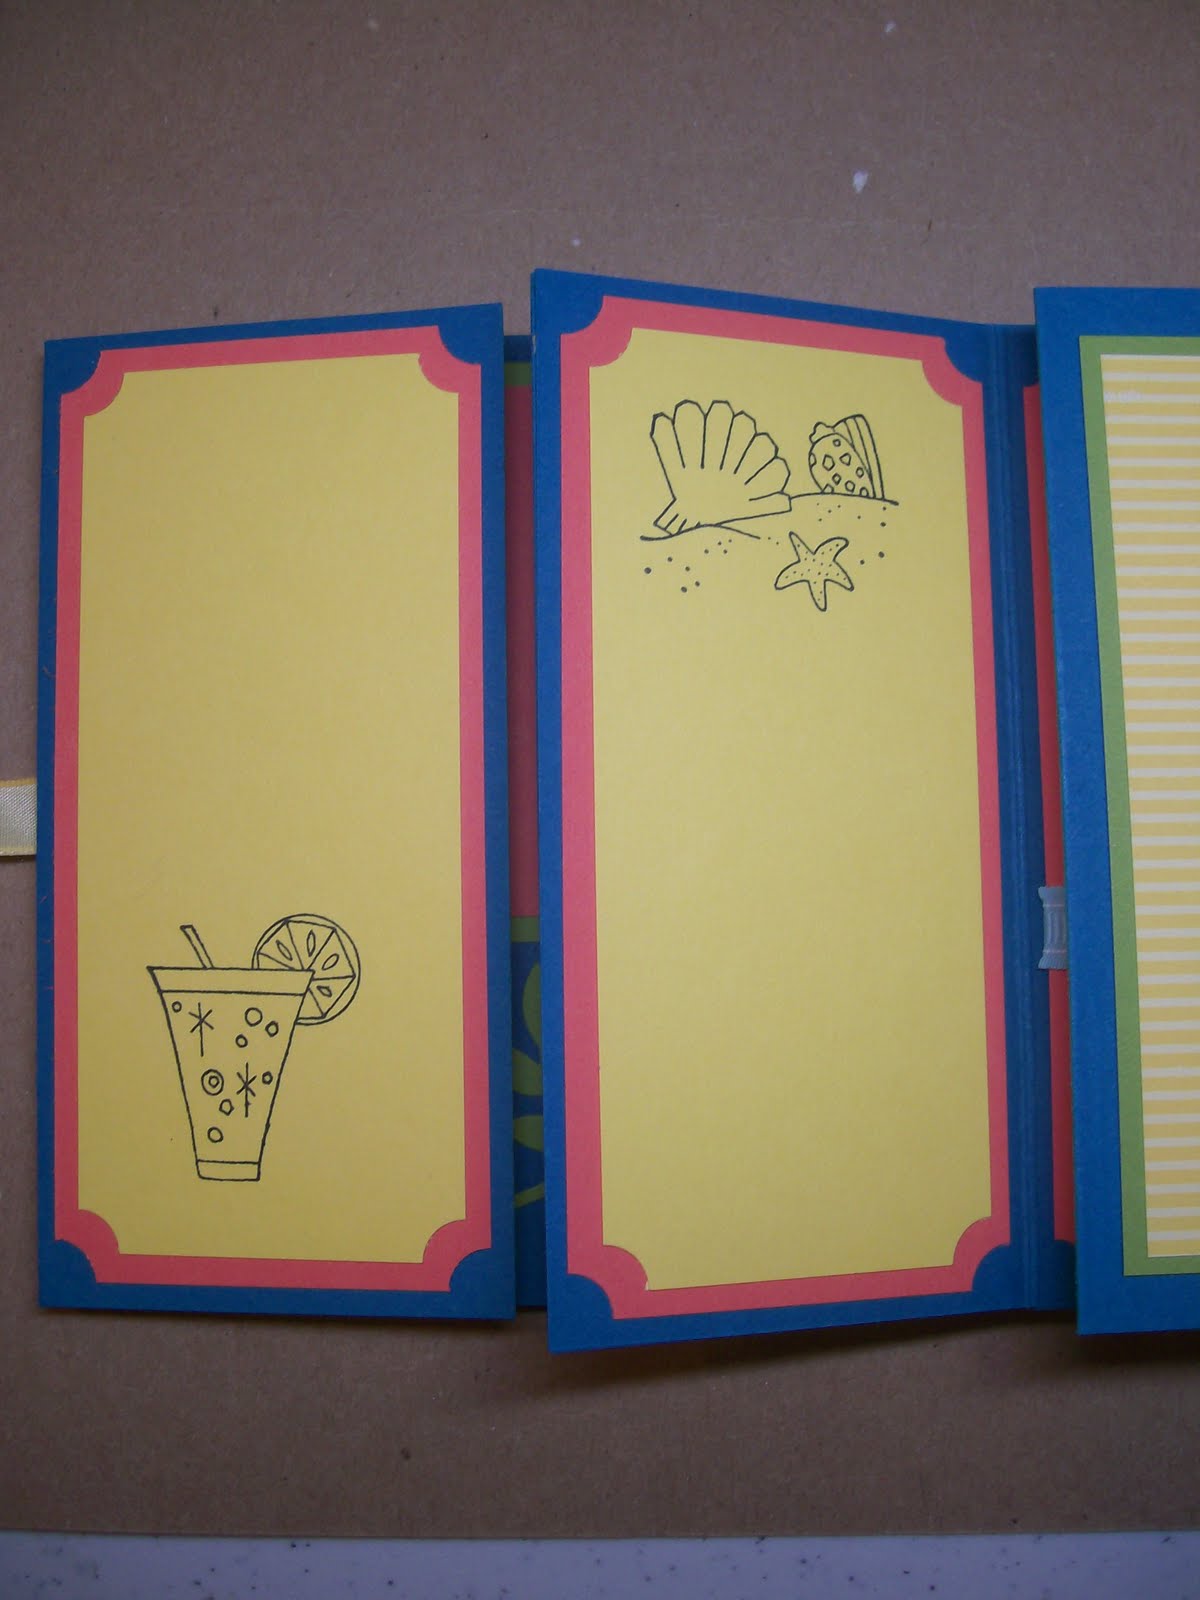
Another of the OMG albums. This one was a little challenging. The wedding colors are black and white with a little pewter. The person requesting this said I could add a color if I needed but I think I did pretty well with just Basic Black, Basic Gray and Whisper White (and a little bit of Wild Wasabi for leaves).

The dotted piece along the bottom is from the wedding invitations. The stamped images are non-SU stamp sets I had from before SU days.


This is the back of the album. The image is from the new hostess set, Ain't Love Grand. I would put a photo of the couple in their 'getaway' car here.


This is inside the front cover - Basic Black DSP and a set of bride and groom hearts look pretty nice here. If you would like to see how I make the bride and groom hearts, I have a tutorial here. The large open area above the intialed hearts could house one large photo of the couple or a collage of smaller photos.


The center spotlights the wedding invitation. I intend the narrow areas on the side to be individual photos of the bride and groom coordinated with the bride and groom hearts (of course, they can do whatever they want - I do offer to add their photos for a separate fee).


This is one of the side sections that flank the invitation. This could hold photos of the bridesmaids in one section and groomsmen in the other. The circular areas could also hold photos.


This is inside the back cover. The flower is all white but the 5 petal flower is sponged with Basic Gray to make it more visible against the white background. This provides another large areas to place a single photo or several smaller ones.


The section with the three hearts is one side of the open back display. I imagine the bottom section here with the grooms family and maybe the smaller one the groom and parents or grandparents. The opposite side would be for the bride's family.


The inside back has a frame with a window sheet. The sentiment is from a retired stamp set. I imagine a photo of the bride and groom in the circular frame - probably kissing :-)


And here it the little gift card and envelope I made to go along with the album. My customers seem to like that extra little touch.


So, I don't think I did to badly using just black, white and gray. My husband asked if it was for a black tie event - so guess it looks pretty classy. I hope the couple likes it.

Saturday, October 8, 2011

Bride and Groom Hearts

I have been having fun today making bride and groom hearts. This is one of my favorite ways to dress up wedding scrapbook pages or the OMG albums. So while I was working on these I made a tutorial so you all can make some for yourselves.

Tutorial HERE
Here is a happy couple. This is for a scrapbook page for a couple married in January and they had snowflakes for part of the decorations. The snowburst embossingfolder came in handy here. He wore a white tie so I make the groom to match.


Here are several styles of bride hearts. From left to right they are the snowburst, vintage wallpaper, and elegant lines embossing folders. I rubbed some Frost White shimmer paint on them before adding the pearls.


This is for a May wedding. He wore a black bow tie so I used that style. I have used the tiny rhinestone jewels on these. These are for a little gift to the bride for her scrapbooking.


And - these don't have to be just for wedding scrapbooking. What about proms? or any formal occassion. Here I used Real Red card stock and ribbon. So easy to personalize to fit the occassion.


Have you tried these? Do you have other ideas for customizing them? I'd love to hear from you!

Tuesday, October 4, 2011

Tropical Cruise OMG Album

I have been busy making OMG Albums (click here to see the tutorial ) - wedding gifts mostly - and a co-worker asked me to make one for a couple she knows. They are going on a cruise next week and the couple will be celebrating their 15th wedding anniversary. So, I had to come up without something tropical and crusie themed.

For the cover I came up with a string of flags spelling their name. The bottom three are their initials and 15 for the years. The sun is from a retired stamp set which I stamped with Stazon black on Daffodil Delight then sponged therays with Tangerine Tango.
The flags are cut with the pennant punch.


The back cover is a photo frame with a Wonder Sheet behind it. The flower is made using two 5 petal flower punches. I wrapped some linen thread around the two sides - thought that looked tropical for some reason.
The card stock colors used throughout the album are
Calypso Coral
Lucky Limeade
Pool Party
Island Indigo
Daffodil Delight
Crumb Cake
and a few scraps used for the flags on the front,
Most of the images are retired stamps.


This is the album open from the front. Another 5 petal flower and some Pool Party ruffled ribbon accent the center panel. The sentiment is from A Word for You.


A closer look at the end panels. These each open to reveal more pages for adding photos.


This is a close up of the center. I punched the flowerfrom Daffodil Delight and sponged the petals with Calypso Coral.


This is the section behind the end panels that I mentioned above. The 4 petal flowers are die cuts using the Big Shot (Did you know you can get a free Big Shot this month - ask me how! )


The colors are so vivid and bright - so thankful for the 2011-2013 IN colors.


This is a closer look at thevining flowers. I love making little flowers with the jewel accents. Flowers without the pearl or rhinestone center just don't look finished.


And the flap - more flowers and room for a small photo or journaling.


One of the end pages is all dressed up with a bright tropical flower. The 5 petal flower was sponged with Crumb Cakc to make it stand out.


And another panel is now a cute pocket. It can hold a photo, journal entry or a souvenir like a ticket or some Mexican money.


The back panel was made into a sandy beach. They will be stopping at several islands so maybe they can get a photo from each island to ad to this section.


The beach is just some Crumb Cake paper stamped with some seashells. Everyone really liked this section.


And a little extra I have started including with these albums - a matching gift card. So now they are all set for the cruise!

Sunday, October 2, 2011

3's Are Wild!

I am offering a share of 3 of my favorite tools from Stampin Up - Stamping Sponges, Blender Pens and Sponge Daubers. These are all sold in packages in multiples of 3 - so here's the offer -
for one share ($9.50) you receive:
1 sponge (which can be cut into wedges for sponging on ink accents)
1 blender pen
4 sponge daubers
These can all be found on page 203 in the big catalog.

Let me show you how these are used and what a difference they can make on a card.

Here is a layout using
Card Stock - Perfect Plum, Whisper White, Basic Black
Ink - Basic Gray
Stamp Set - Herb Expressions
Embossing Folder - Designer Frames

Now, let's see what a few tools can do -
First, the blender pen. These are double pointed so you have two tips on each pen. Squeeze the lid of the ink pad down really hard then open the pad. You will have some ink smeared on the inside of the lid. Use that as your palette.
Take the tip of the blender pen and pick up some ink - just a little bit at a time.

Color in the image. When using blender pens, you should use a waterproof ink for the image. Basic Black and Basic Gray both will work for this. When you have finished with one color, just rub the tip gently on some scrap paper until no more color comes off.


On to sponge daubers - very handy! And you get 4 of them in the share. You will notice mine is labeled for the Basic Gray ink (I have enough of them that I don't have to clean them between inks!)

Rub the sponge end on the ink pad to absorb some ink.


Rub the ink as desired on the card stock. I embossed this frame with my Big Shot and I am using the dauber to add ink to the raised areas. I got a little on the background but it just gives it that 'aged' look. It really brings out the embossing. I also rubbed a little of the Basic Gray ink around on the background using the dauber.

You can clean the daubers by first rubbing on some scrap paper to remove as much ink as possible. Then use some running water to rinse it out. Let it dry well between colors (good thing you are getting 4 so you won't have to wait for one to dry before continuing).


One of my favorite things to do with the sponge is to add some shimmer paint. I cut my sponges up into 8 wedges and they are perfect for sponging ink. I have one for each ink color and have it labeled with a piece of card stock stapled to the point. It works very well. The sponge I am using here is one of my extra ones so it is not labeled.


After thoroughly shaking the shimmer paint, press the sponge firmly against the mouth of the bottle. Tip the bottle to get a little bit of the shimmer paint on the sponge.


Dab and rub the shimmer paint over the image. This gives the paper a marblized or 'mother of pearl' look. You can add as little or as much as you like.


Now - I have put together the layout after enhancing with the blender pen, sponge dauber and sponge. The photo does notdo justice to the shimmer paint or the basic gray accents but I think you can see the difference.


Here is the finished card.


This is a closeup of the ink enhancements. Below are some photos of cards that were enhanced using one of the three tools in the share.


On this card, I used the sponge dauber to add color after stamping the flowers and butterflies using black Staz-on ink. If you are using Staz-on or craft ink you have to let it dry a long time to avoid smearing.


A blender pen was used to color in the image on this card.


I used a sponge to add a dusting of ink around the edges of the Whisper White with the sentiment.


This is another example of sponging around the edges. This is one of the easiest was to dress up a card.


I used a sponge dauber to add some color to this image. I used several colors and the dauber allowed me to control the ink a little bit more than a sponge would have. I still colored outside the lines but I like how it looks.


Here I sponged some Basic Black ink around the edges of some heart punches. This gives them more definition. You can use a sponge or a dauber to do this.


So - have I convinced you that you need these tools? If you would like to participate in the share, let me know by posting a comment here or email me at cavmary63@yahoo.com.


Thanks for stopping by!

Simply Scored - So Simple!

I have been busy making OMG Albums and the Simply Scored Scoring Tool makes it so much easier. If you check out my tutorial from the link to the OMG Albums you will see that I have to score the pages and crease them well to get the album to fold up. Using the Simply Scored makes my scoring much more consistent. I use the markers to set where I need the folds and can do numerous pieces of card stock in a short time.

Yesterday I found a new use - adding texture to the card stock.

I was working on a card for some newlyweds (Sad to say they were married in July but I still have to get their gift to get them and just made their card yesterday. I know the rules of etiquette says the thank yous can be sent up to a year after the wedding date - does that apply to gift giving as well???)


Anyway - I wanted to do something a little special for the tuxedo heart. I had used the Vintage Wallpaper embossing folder for the bride and even sponged it with some Frost White shimmer paint so it looked pretty dressy. When I did these for my daughter's wedding last year I had scraps of the Bride and Groom paper but no more of that - so what to do.


I took the Simply Scored and the strip of Basic Black card stock and scored the paper in each line on the Simply Scored. It went so quickly - can't imagine doing that with the paper cutter/scorer - first, because it would take forever to reposition the paper after each score line - and second because I would have screwed up somewhere along the way and made a crooked line or too close to the others etc. From the scored side of the paper it looked nice but nothing special - but when I flipped it over it almost looked like pinstriping - perfect for a tux!


Here is a closer picture of the card -
Card Stock - Wisteria Wonder, Whisper White, Basic Black
Embellishment - Whisper White Satin Ribbon, 1/4 inch Basic Black taffeta ribbon, Jewels
Ink - Frost White Shimmer paint, Basic Gray
Stamp Set - retired Whimsical Words


And speaking of my daughter's wedding last year, this is an OMG album I am making for her and my son-in-law for their first anniversary gift (Yes - it was in June - I am behind on that too :-) But I want them to pick out the photos that go into this one). The pinstripes show up a little better in this photo.